Gliding Cup Therapy using polycarbonate cups is a hands-on bodywork technique that uses gentle negative pressure and smooth movement over lubricated skin to support soft tissue mobility, circulation, relaxation, and body awareness. Unlike stationary cupping, the cups are moved across the skin instead of staying in one place. In a licensed massage therapy setting, this approach is not used to diagnose, treat, prevent, or cure medical conditions. Instead, it may be used as part of a wellness-focused session to help clients feel more connected to their body, notice areas of tension, and explore comfortable movement.
Gliding Cup Therapy is sometimes called dynamic cupping, sliding cupping, or cupping massage. The cup creates a gentle lift on the skin and superficial fascia while the practitioner glides it along muscle and fascial pathways. Research on cupping massage and related cupping therapies suggests possible benefits for comfort, function, pressure sensitivity, and quality of life, although researchers also note that more high-quality studies are needed before stronger conclusions can be made.1,2,5
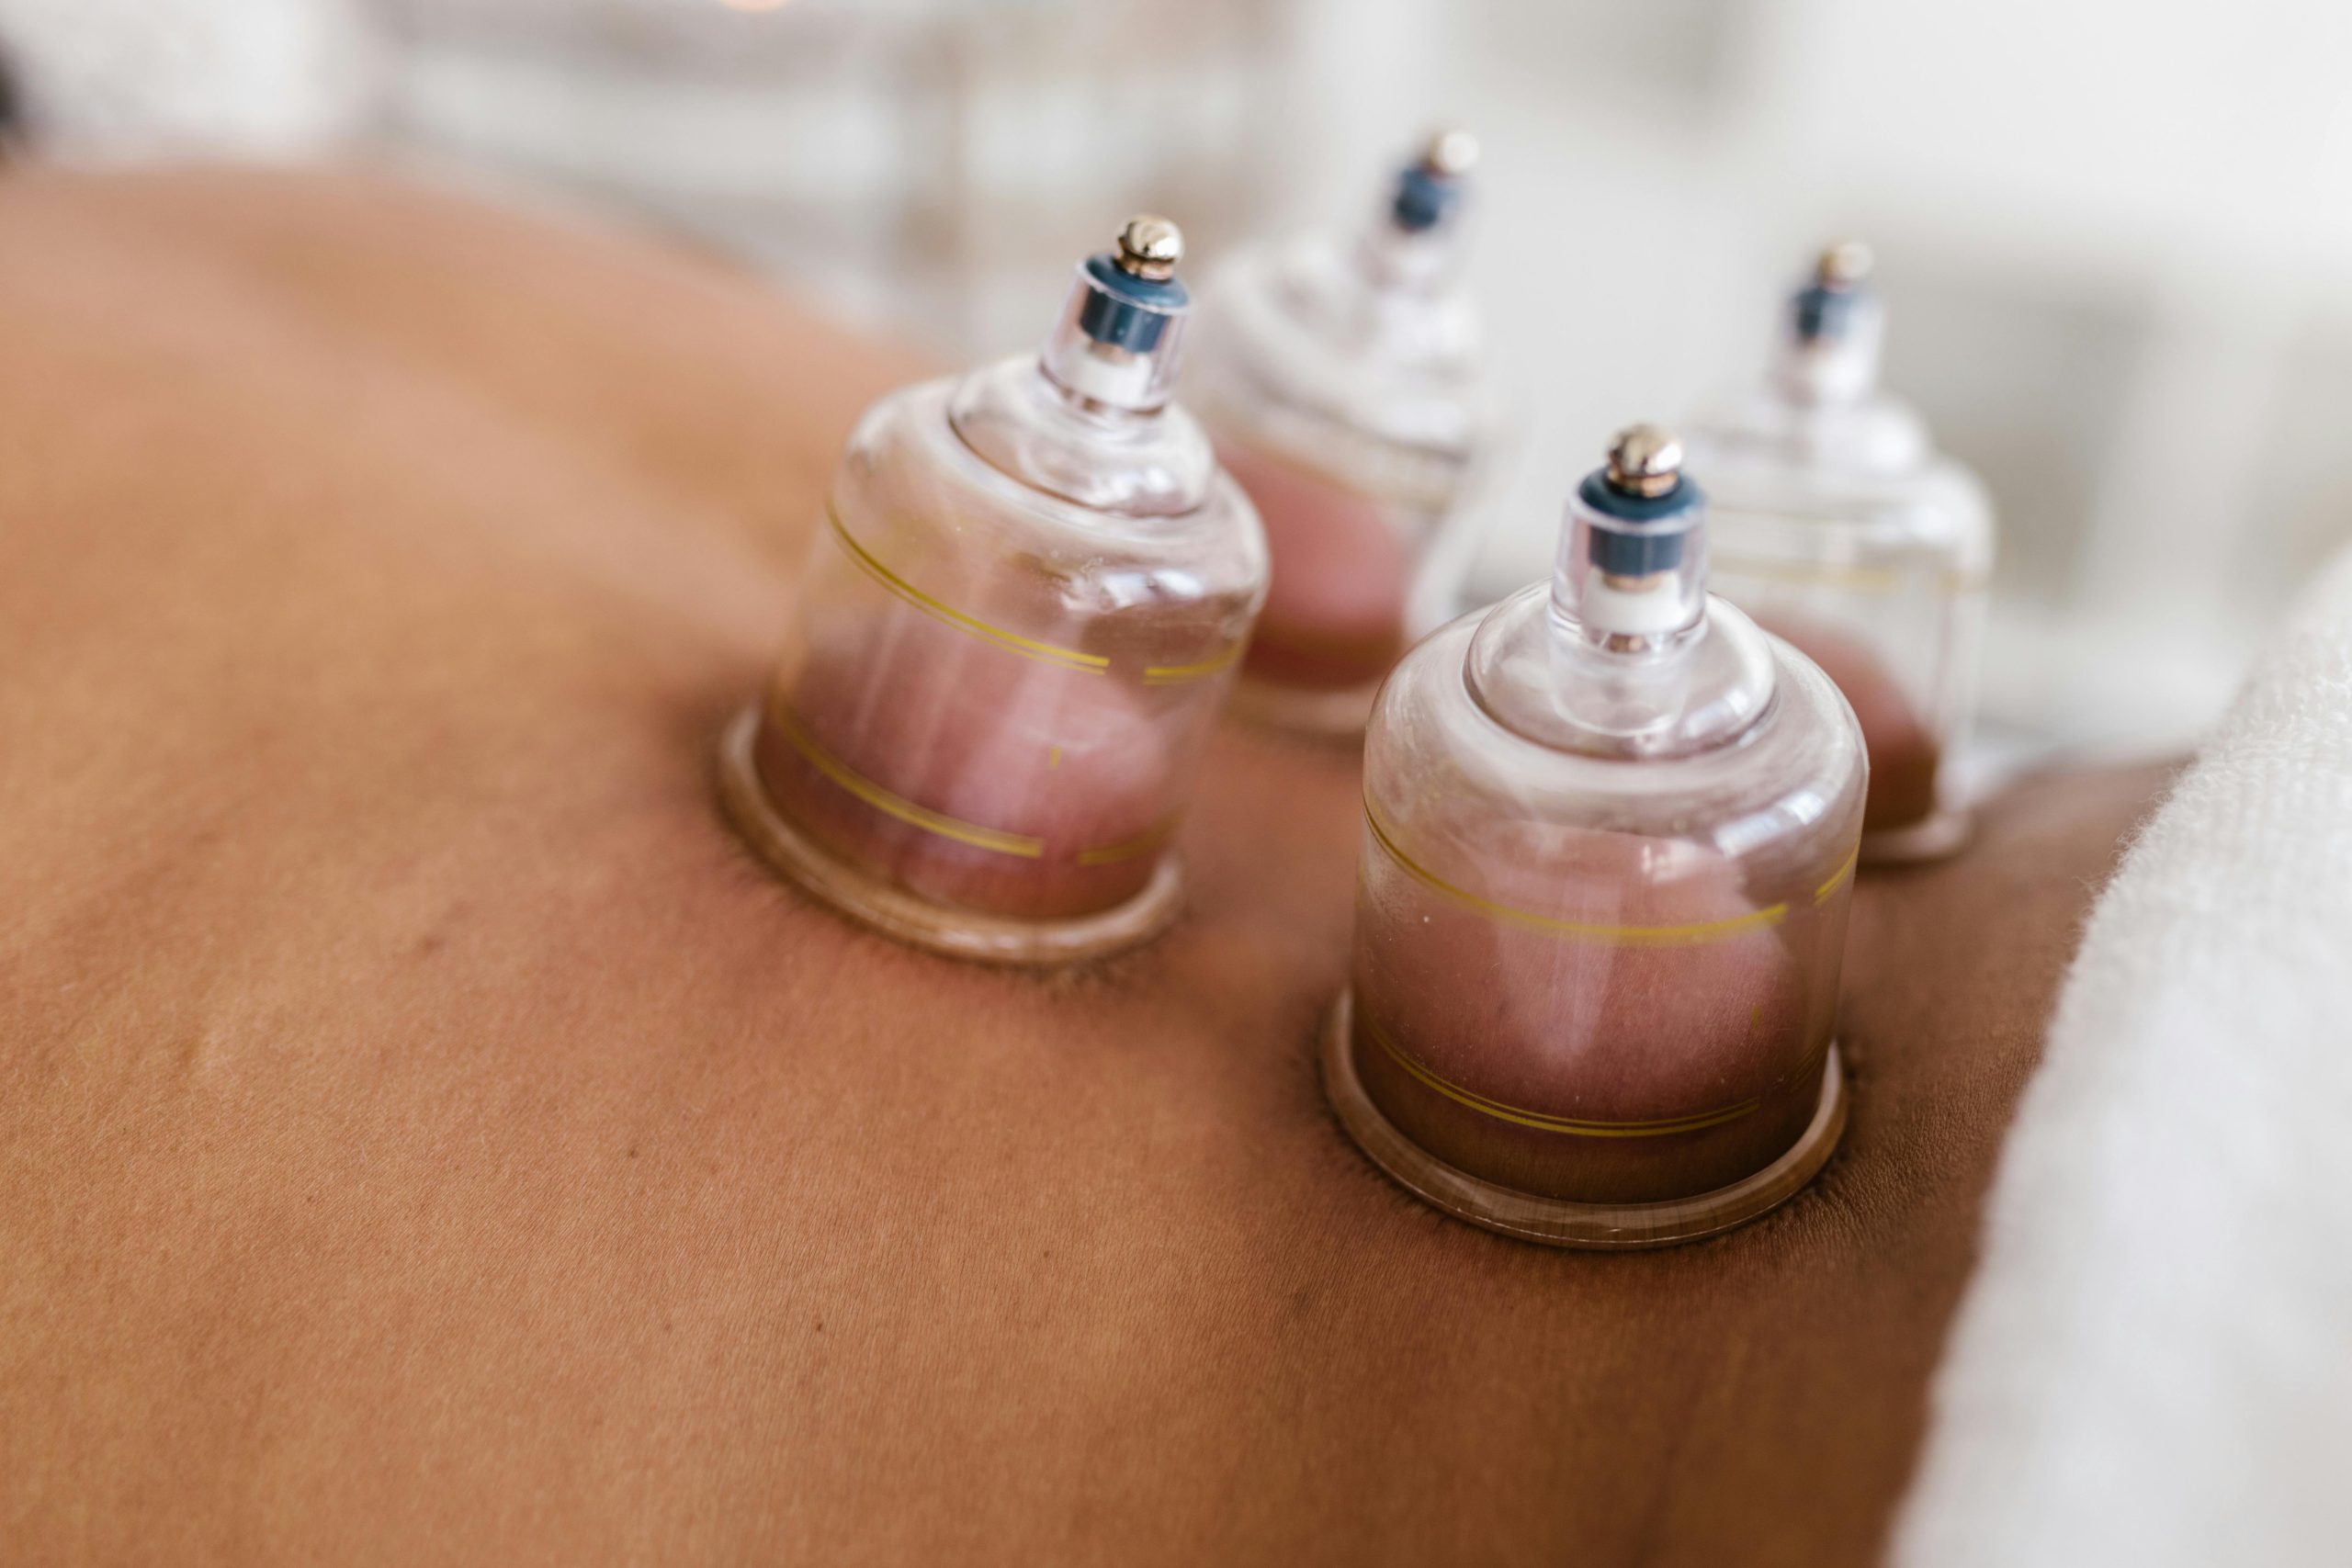
Polycarbonate cups are different from soft silicone cups because they are firm, clear, and often used with a pump system. This allows the practitioner to control the amount of suction with precision. Because polycarbonate cups do not bend or conform to the body the same way silicone cups do, the technique calls for mindful pressure, slower transitions, and thoughtful placement, especially around joints, curves, or sensitive areas.
For patients and caregivers, the most important thing to know is that Gliding Cup Therapy should feel controlled, tolerable, and collaborative. You should be able to communicate what you feel, ask for lighter pressure, and leave with simple self-awareness tools such as hydration, gentle movement, and journaling how your body responds over the next day or two.
What Is Gliding Cup Therapy With Polycarbonate Cups?
Gliding Cup Therapy is a form of massage-based bodywork that uses a cup, gentle suction, lubricant, and continuous movement across the skin. Instead of leaving the cup in one place for several minutes, the practitioner slowly moves the cup along soft tissue pathways. This creates a lifting sensation that feels different from traditional hands-on massage.
With polycarbonate cups, the cup is firm rather than flexible. These cups are often clear, durable, and used with a pump that allows the practitioner to adjust suction more specifically. Some cups are designed for flatter areas of the body, while others are shaped to work more comfortably around joints.
In simple terms, you can think of gliding cups as a way to gently lift and move the superficial layers of tissue while massage usually compresses, kneads, or stretches tissue with the hands. Both approaches can be used thoughtfully within a licensed massage therapy session.
This is not a medical treatment or a replacement for care from a physician, physical therapist, or other licensed healthcare provider. It is a supportive bodywork technique that may help you explore comfort, mobility, relaxation, and body awareness within the appropriate scope of massage therapy.
How Gliding Cup Therapy Feels
Most clients describe gliding cups as a pulling, lifting, or skin-stretching sensation. It may feel warm, soothing, unusual, or deeply relieving when the pressure is matched well to the body. The experience should not feel sharp, alarming, or overwhelming.
Because polycarbonate cups can create more precise suction, communication matters. A lighter setting is often more comfortable for gliding work, especially when the goal is smooth movement rather than intense stationary suction. The practitioner can adjust the suction, speed, direction, and amount of lubricant to create a more comfortable experience.
You may notice temporary redness where the cup has moved. Some people may also develop mild tenderness or cup marks. These responses are usually temporary, but every body responds differently. People who bruise easily, take blood-thinning medication, have fragile skin, are pregnant, have certain skin conditions, or are under medical care should discuss cupping-style bodywork with their healthcare provider before receiving it.
Why Polycarbonate Cups Are Unique
Polycarbonate cups bring a different feel and clinical style to gliding work. Because they are rigid, they hold their shape well and can maintain steady suction during a glide. This can be helpful on larger, flatter areas such as the back, thighs, hamstrings, quadriceps, or other broad soft tissue regions.
The clear material also allows the practitioner to observe skin response during the session. This can help guide decisions about pressure, pace, and when to pause or move to another area.
The tradeoff is that rigid cups are less forgiving over bony landmarks, highly curved areas, and delicate regions. They may lose their seal more easily on uneven surfaces, and they may feel more intense if too much suction is used. This is why thoughtful technique is so important. With polycarbonate cups, more suction is not automatically better. In many cases, slow, moderate, comfortable movement is the goal.
How Gliding Cup Therapy May Support Body Awareness
A helpful way to understand Gliding Cup Therapy is through the lens of sensory input. Your skin, fascia, muscles, and nervous system are constantly communicating. Gentle bodywork can give your brain new information about areas that may feel tight, guarded, tired, or less mobile.
The lifting sensation of the cup may help you notice tissue movement in a new way. You may become more aware of how your shoulders rest, how your hips move, or where your breath feels restricted. This awareness can be valuable for people who are learning to listen to their body with more kindness and curiosity.
Research has explored cupping therapy and cupping massage for pain-related outcomes, neck discomfort, pressure sensitivity, and musculoskeletal rehabilitation. Some studies report promising short-term changes, while also emphasizing that the overall evidence base varies in quality and more rigorous research is needed.1,2,4,5
From a massage therapy and health coaching perspective, this means Gliding Cup Therapy can be discussed as a supportive wellness tool, not as a guaranteed medical solution. The goal is to create a safe, comfortable experience that supports relaxation, movement exploration, and a positive connection with your body.
Gliding Cups and Fascia
Fascia is connective tissue that helps organize and support structures throughout the body. In everyday language, many people think of fascia as the body’s soft tissue web. It surrounds muscles, groups of muscles, and other structures, helping the body move as an integrated whole.
Gliding Cup Therapy may create a gentle lifting and sliding sensation across superficial tissue layers. This is often described in bodywork settings as myofascial decompression. Rather than pushing downward into the body, the cup creates negative pressure that gently lifts the skin and superficial fascia.
This does not mean the cup is breaking up scar tissue, removing toxins, or curing a condition. Those claims go beyond what should be promised in a non-medical massage setting. A safer and more accurate way to describe the work is that it may support a sense of tissue mobility, ease, circulation to the local area, and improved body awareness.
What to Expect During a Session
Your session should begin with a conversation. Your massage therapist may ask about your comfort goals, areas of tension, recent activity, sensitivity, bruising tendency, medications that affect clotting, skin health, and whether you have any medical restrictions.
Next, the therapist applies a massage lubricant so the cup can glide smoothly. The cup is placed on the skin, gentle suction is created, and the practitioner slowly moves the cup along the chosen area. With polycarbonate cups, suction may be adjusted through a pump or valve system.
During the session, you may be asked how the pressure feels. You are always allowed to request less suction, slower movement, or a pause. Comfortable communication helps your nervous system feel safe, and that can make the session more enjoyable.
After the session, your therapist may suggest gentle movement, water intake, and simple body awareness. You may be encouraged to notice how your body feels later that day and the next morning. This is where journaling can be helpful.
Who May Enjoy This Type of Bodywork?
Gliding Cup Therapy may appeal to people who enjoy massage but want to experience a different kind of soft tissue input. It may be especially interesting for people who are curious about mobility, posture, athletic recovery routines, or general wellness care.
It may also be useful for clients who prefer a technique that can be adjusted moment by moment. The pressure, speed, direction, and treatment area can all be modified. A session can feel gentle and relaxing, or more focused and specific, depending on the client’s goals and tolerance.
This technique may not be ideal for everyone. People with fragile skin, active skin irritation, open wounds, certain circulatory concerns, recent injury, unexplained swelling, fever, infection, blood-clotting concerns, or those using blood thinners should be cautious and seek medical guidance when appropriate. Massage therapists work within scope, which means they do not diagnose or manage medical conditions.
What Makes This Different From Traditional Stationary Cupping?
Traditional stationary cupping usually involves placing cups in one area and leaving them there for a period of time. This can create more distinct circular marks because the suction remains focused in one spot.
Gliding Cup Therapy keeps the cup moving. The sensation is often more massage-like because the cup travels across the lubricated skin. Marks may still happen, but the goal is usually smooth movement and comfortable tissue engagement rather than strong, prolonged suction in one location.
For many clients, this makes gliding cups feel more approachable. The experience can be gentle, fluid, and easy to communicate through. For practitioners using polycarbonate cups, the key is to keep suction appropriate for movement and to respect the body’s feedback.
How to Reflect After a Gliding Cup Session
One of the best ways to receive bodywork is to stay curious after the session. Your body may feel lighter, warmer, calmer, or simply more noticeable. You may also feel mild tenderness, similar to how you might feel after a new workout or focused massage.
Try journaling a few simple notes after your appointment.
How did my body feel before the session?
What areas felt the most responsive during the session?
Did the pressure feel comfortable and safe?
How did I sleep that night?
How did my movement feel the next morning?
What would I like my practitioner to adjust next time?
This kind of reflection helps you become an active participant in your wellness care. It also gives your therapist helpful feedback so each session can become more personalized.
Final Thoughts
Gliding Cup Therapy with polycarbonate cups offers a unique blend of precision, movement, and gentle decompression-style bodywork. When performed with care, clear communication, and respect for the body’s signals, it can be a supportive addition to a massage therapy session focused on comfort, mobility, relaxation, and body awareness.
Your body is always communicating with you. Sometimes the most powerful part of a session is not forcing change, but creating a safe space where your body can soften, respond, and be heard.
Let Your Curiosity Guide Your Next Step
If you are curious about Gliding Cup Therapy, consider learning more before your next session, journaling how your body feels after bodywork, or joining a conversation about how different massage techniques support your personal wellness routine. If you are unsure whether cupping-style bodywork is right for you, bring your questions to your licensed massage therapist and your healthcare provider so you can make an informed, confident choice.
References
- Lauche R, Materdey S, Cramer H, et al. Effectiveness of home-based cupping massage compared to progressive muscle relaxation in patients with chronic neck pain, a randomized controlled trial. PLoS One. 2013. PMID: 23762355. PubMed
- Lauche R, Cramer H, Hohmann C, et al. The Effects of Cupping Massage in Patients with Chronic Neck Pain. Complementary Medicine Research. 2017. PMID: 28219058. PubMed
- Al-Bedah AMN, El-Olemy AT, Khalil AAH, et al. The medical perspective of cupping therapy: Effects and mechanisms of action. Journal of Traditional and Complementary Medicine. 2018. PMID: 30963043. PubMed
- Mohamed AA, Zhang X, Jan YK. Evidence-based and adverse-effects analyses of cupping therapy in musculoskeletal and sports rehabilitation: A systematic and evidence-based review. Journal of Back and Musculoskeletal Rehabilitation. 2023. PMID: 35848010. PubMed
- Zhu A, Wang L, Li X, Cai Z. Efficacy of cupping therapy on pain outcomes: an evidence-mapping study. Frontiers in Neurology. 2023. PMID: 37965178. PubMed