If you’ve recently experienced vacuum therapy or cupping, you might be wondering how to care for your skin and muscles to maximize the benefits and minimize any discomfort. Icing and heating are two essential techniques that can enhance your recovery and reduce the appearance of discoloration or tenderness. This guide will walk you through how, when, where, and why to use ice and heat following a session.
Why Use Ice and Heat After Cupping or Vacuum Therapy?
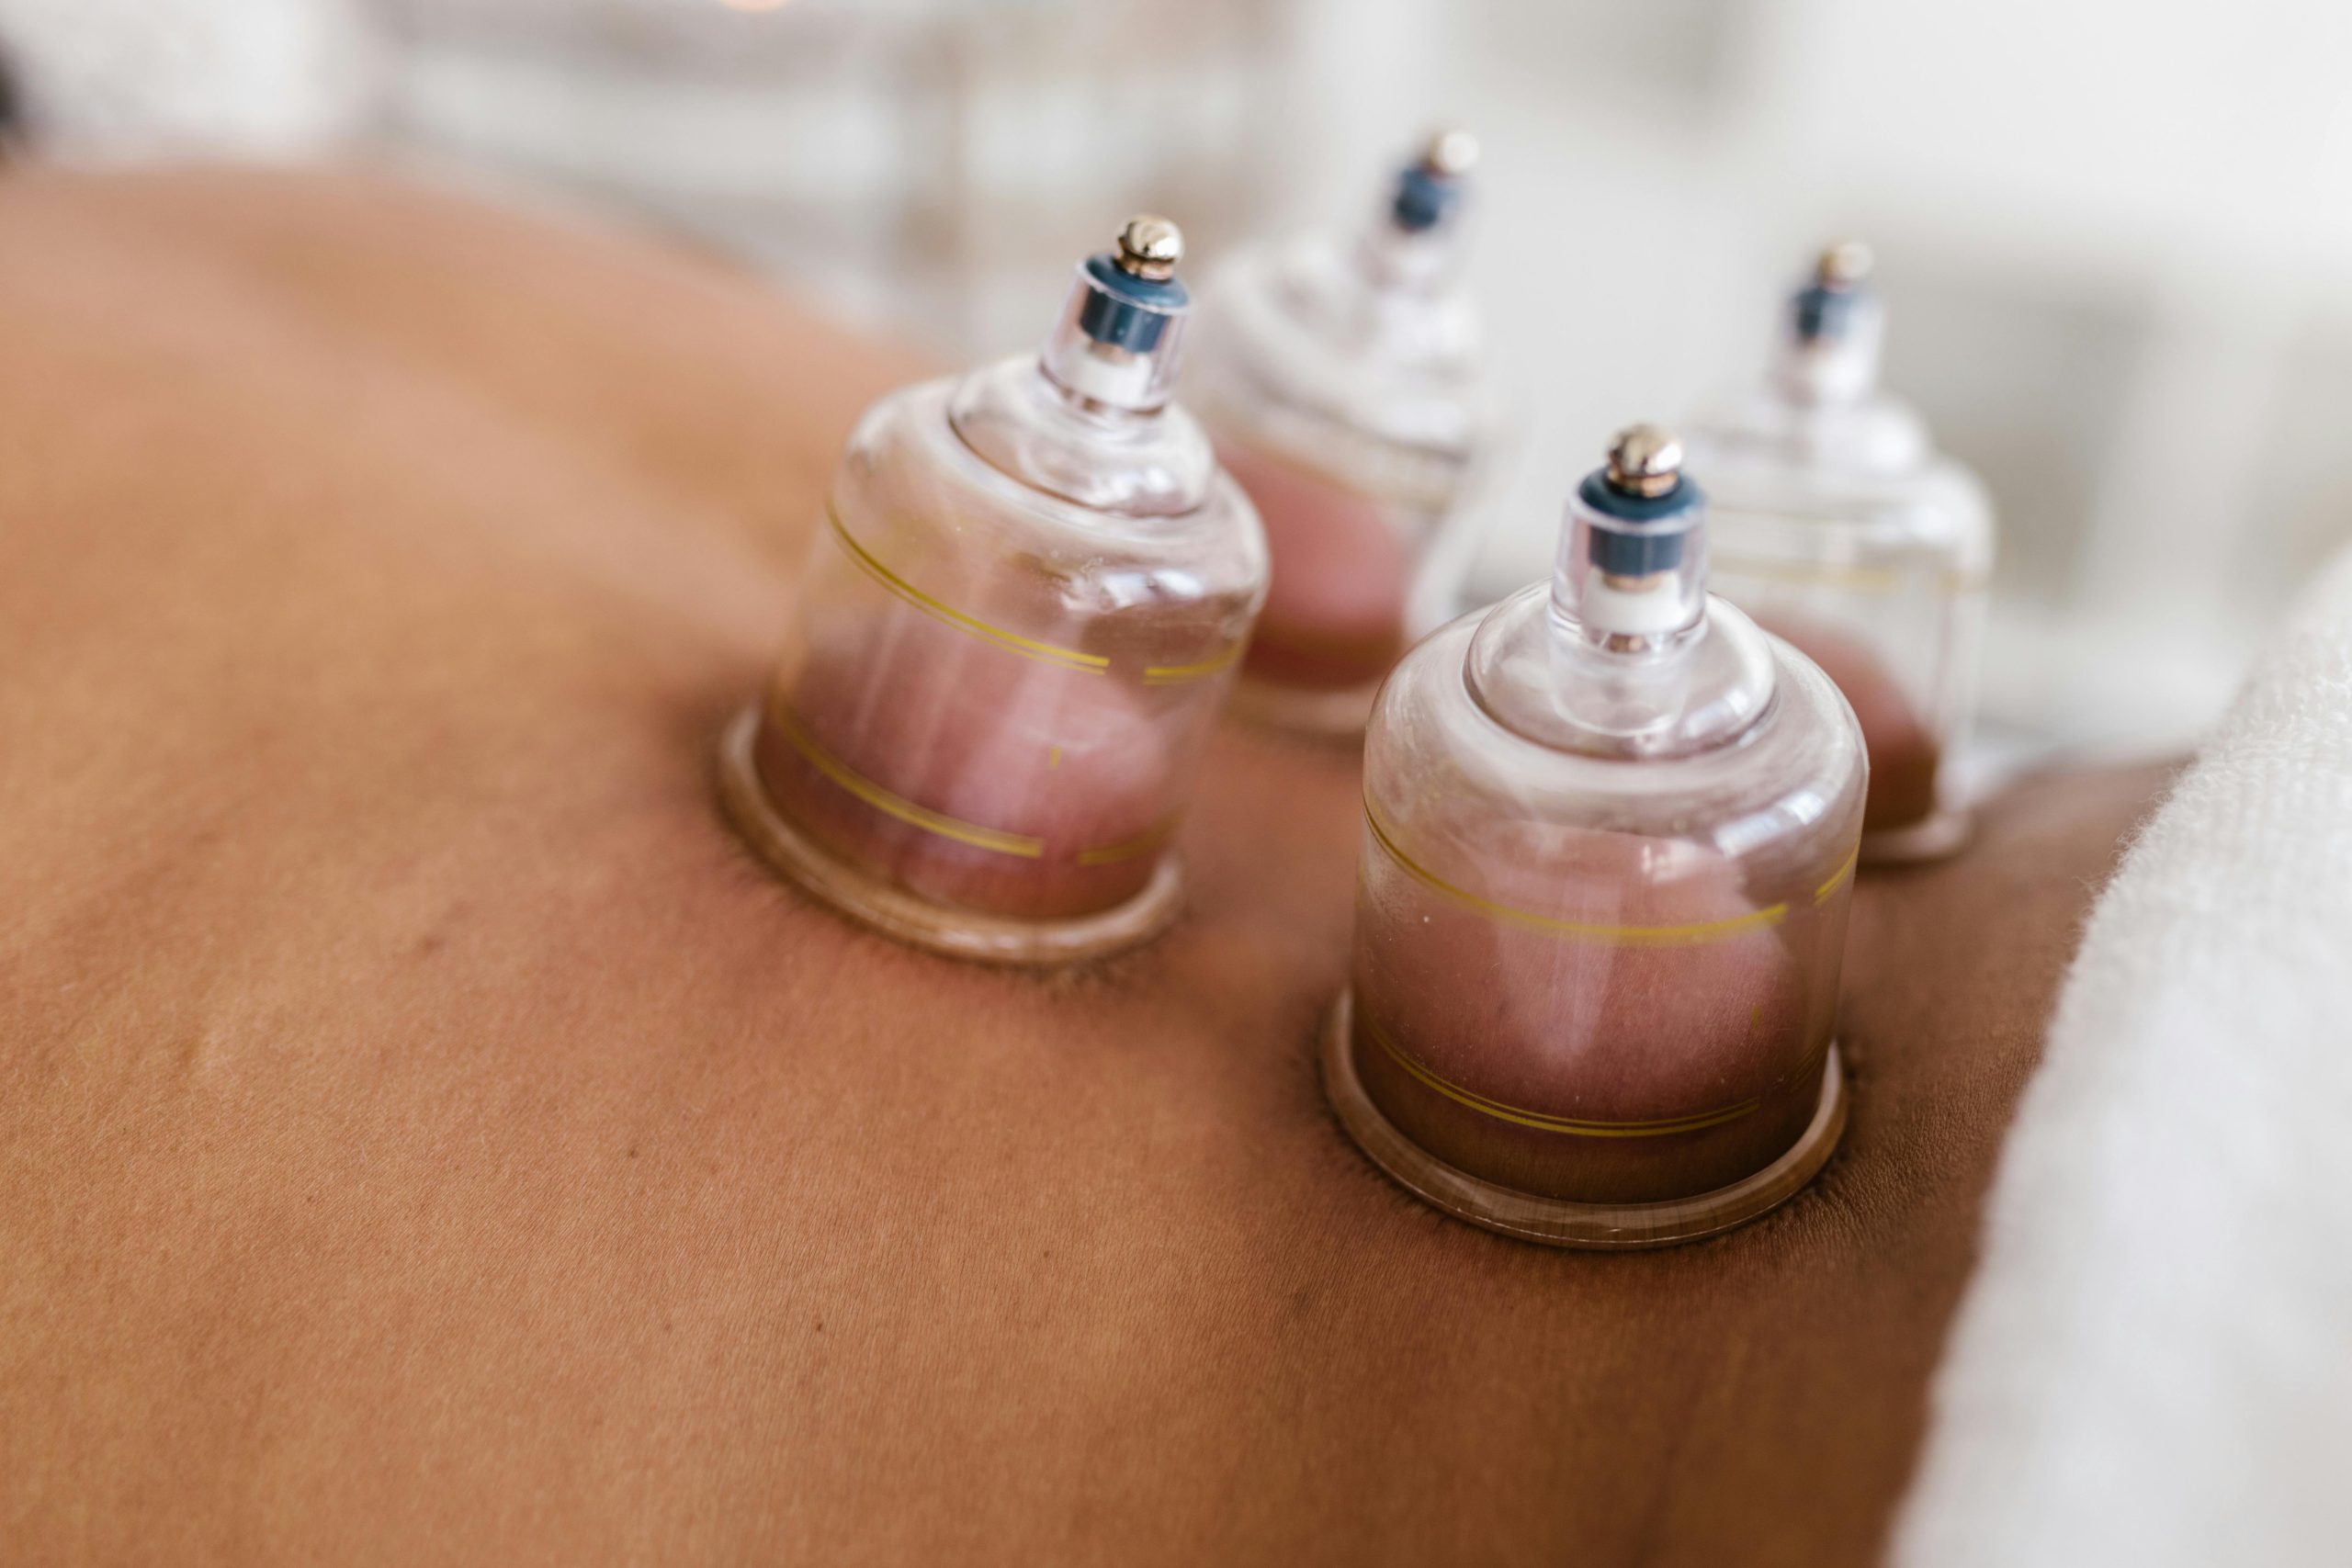
Cupping and vacuum therapy promote circulation, reduce muscle tension, and encourage lymphatic drainage. However, they can sometimes leave temporary discoloration (often called “cupping marks”) or mild tenderness due to the pooling of blood near the skin’s surface. Proper post-therapy care with ice and heat can:
- Reduce discoloration and swelling: Ice minimizes blood pooling and inflammation.
- Promote faster recovery: Heat accelerates blood flow and tissue repair.
- Enhance relaxation: Alternating between ice and heat soothes muscles and aids recovery.
How and When to Use Ice After Cupping
Timing Matters
Ice should be applied as soon as possible within the first two hours post-treatment. This is when your body is responding to the therapy and blood is pooling in the treated areas.
How to Ice
- Prepare Your Ice Pack: Use a cloth-wrapped ice pack or a bag of frozen vegetables. Avoid direct contact with the skin to prevent frostbite.
- Apply the Ice: Place the ice pack on the treated area for 10-20 minutes.
- Repeat as Needed: If discoloration or swelling persists, reapply ice every 2-4 hours while awake for the first 48 hours.
Where to Ice
Apply the ice directly to the cupped areas or regions showing discoloration. Focus on spots with visible marks or tenderness.
Pro Tips
- Avoid over-icing as it can numb the area excessively and hinder healing.
- Combine icing with elevation (if applicable) to further reduce swelling.
How and When to Use Heat After Cupping
Timing Matters
Heat should only be introduced 24-48 hours after your session, once the risk of initial swelling has passed. Applying heat too early can worsen swelling and prolong discoloration.
How to Heat
- Choose Your Heat Source: Use a warm compress, heating pad, or a hot water bottle. Ensure it’s warm, not scalding.
- Apply the Heat: Place the heat source on the affected area for 15-20 minutes at a time.
- Repeat as Needed: Use heat 2-3 times a day to promote circulation and soothe muscles.
Where to Heat
Focus on the same areas treated with cupping or vacuum therapy, especially if they feel tight or slightly tender.
Pro Tips
- Keep a layer of fabric between your skin and the heat source to avoid burns.
- Follow up with gentle stretching or foam rolling to further relax muscles and enhance recovery.
The Science Behind Icing and Heating
- Icing slows blood flow to the area, preventing excessive blood pooling that leads to discoloration and swelling. It also numbs pain receptors, providing immediate relief.
- Heating stimulates blood flow, delivering oxygen and nutrients to the tissue for faster healing. It also helps relax tight muscles and enhances mobility.
Common Mistakes to Avoid
- Skipping Ice: Jumping straight to heat can worsen discoloration and swelling.
- Overdoing It: Prolonged icing or heating can damage tissue or cause skin irritation.
- Ignoring Your Body: Pay attention to how your skin and muscles feel during icing and heating. Adjust the duration or temperature if needed.
Incorporating Movement
After icing and heating, gentle movement like stretching or foam rolling can boost lymphatic drainage and prevent stiffness. However, avoid intense activity that may strain the treated area.
Conclusion
Knowing when and how to use ice and heat after cupping or vacuum therapy is a game-changer for recovery. By following this guide, you can reduce discomfort, minimize discoloration, and maximize the benefits of your session. Always listen to your body and consult your practitioner for personalized advice.
Ready to experience the transformative power of bodywork? Book your session today and learn more about optimizing your recovery!
Leave a Reply
You must be logged in to post a comment.